Introduction to Lightsail and Cloudfront
This post shows you how to connect AWS Lightsail to Cloudfront. Amazon Lightsail is a great and cost effective way to quickly provision EC2 instances with the WordPress pre-installed. Combine Lightsail with AWS Cloudfront and you get a fast content delivery network delivering your website in a secure manner, and what's more, it's delivered from a location local to your visitor.
Get Started
Step 1: Create a Lightsail Instance with a WordPress Blueprint
- Sign in to the AWS Management Console, navigate to the Lightsail service
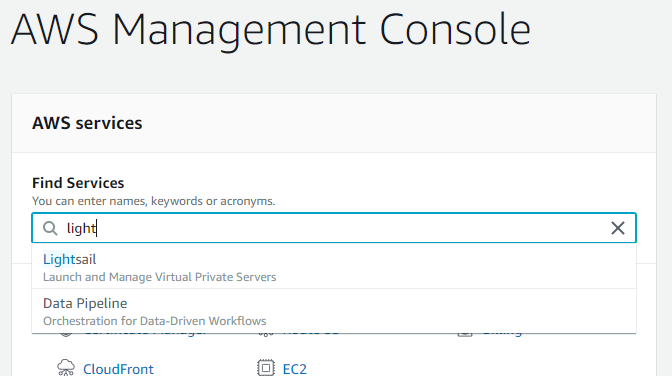
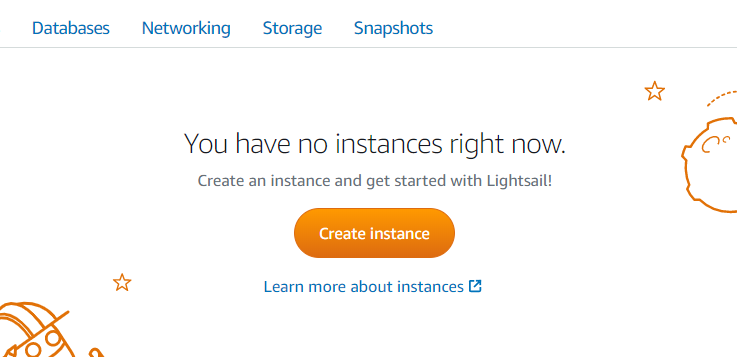
- Go to Instances Section and click on Create instance
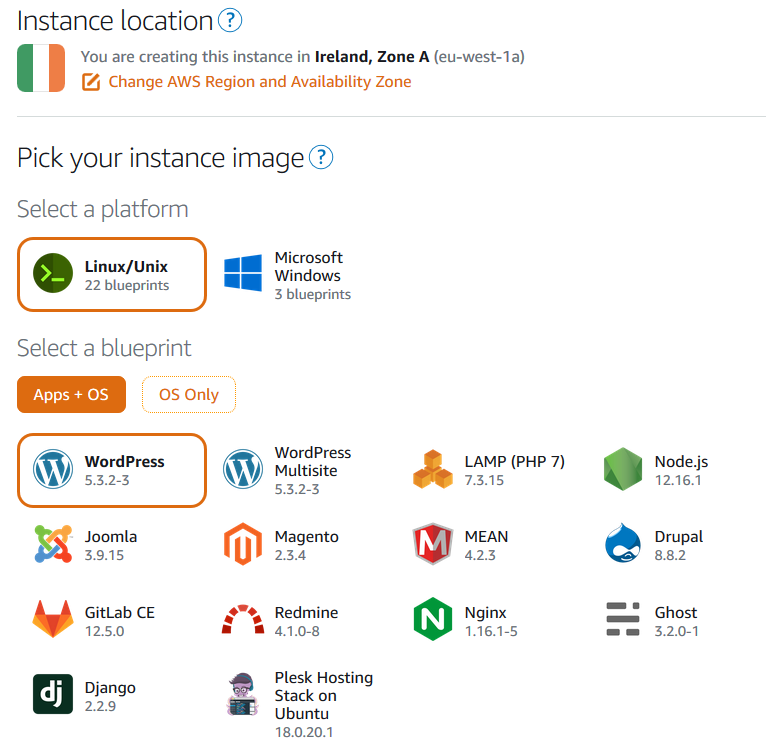
- Choose Instance location, OS type, and WordPress blueprint
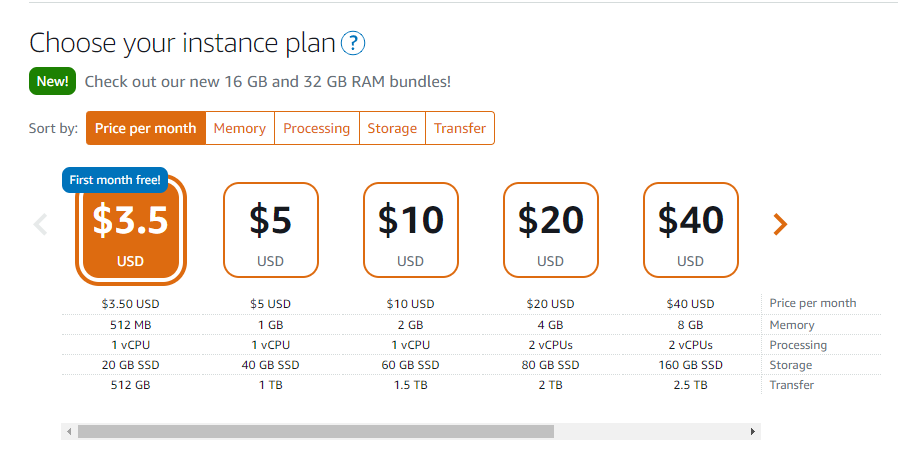
- Choose your instance plan and capacity
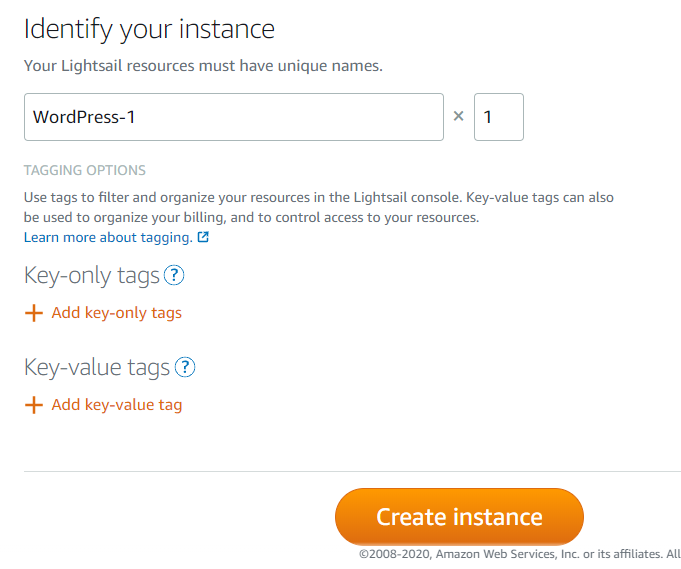
- Give the name of your Lightsail instance and click on Create instance
Step 2: Create Lightsail Load Balancer
- Go to Networking Section and Click on Create load balancer
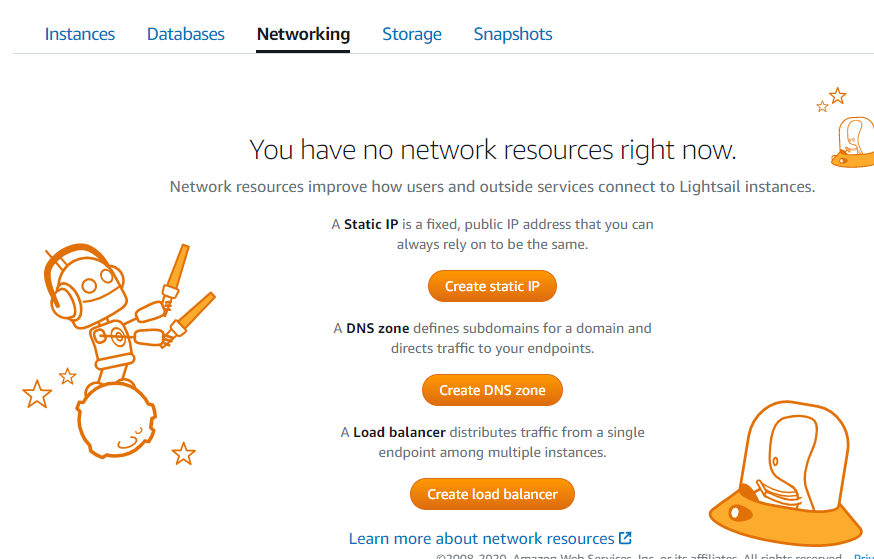
- Click on Create load balancer
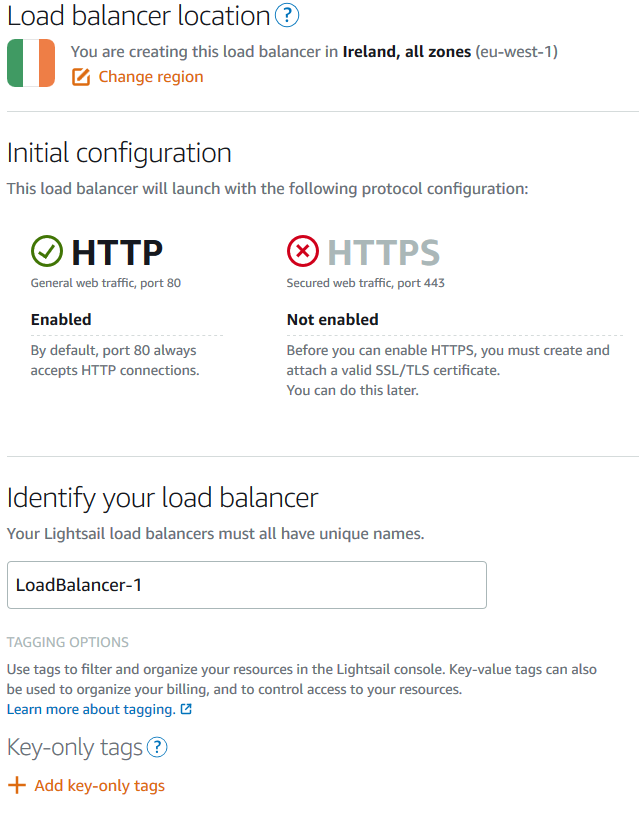
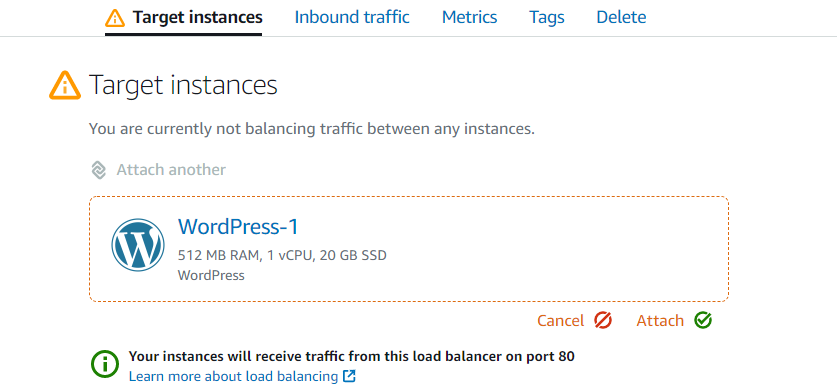
- After you have created the load balancer attach it to your instance by Click on Target Instances and choose newly created lightsail instance and Click on the Attach button.
Do remember you will incur monthly charges from this point on wards.
Step 3: Identify Origin Domain and Create Certificate
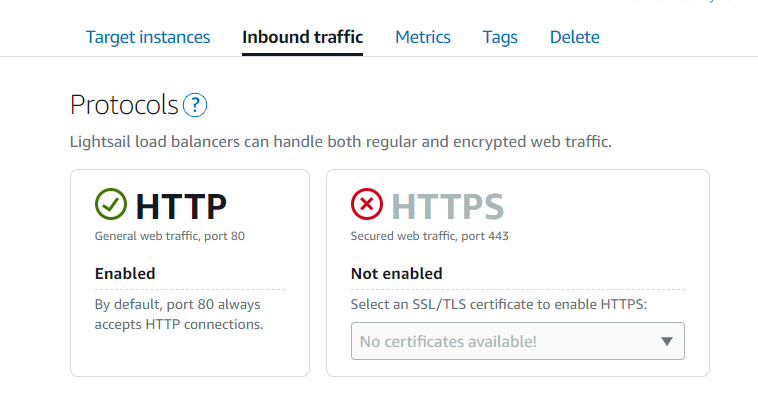
- While in your Lightsail load balancer screen, choose the Inbound traffic
- Go to down in Certificates Section and click on Create certificate+

- Put your domain name and click on create
- Now you need to create the DNS entries now shown for certificate validation.
Configuring your DNS is out side the scope of this post. After your DNS records have propagated the certificate will show as 'Status: Valid, in use'.
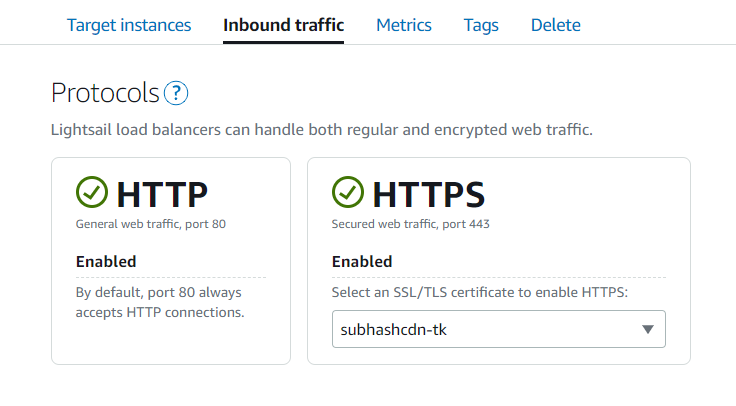
- Now go up in Protocols section and select your newly created certificate in HTTPS
Step 4: Configure the Lightsail Origin to accept SSL traffic
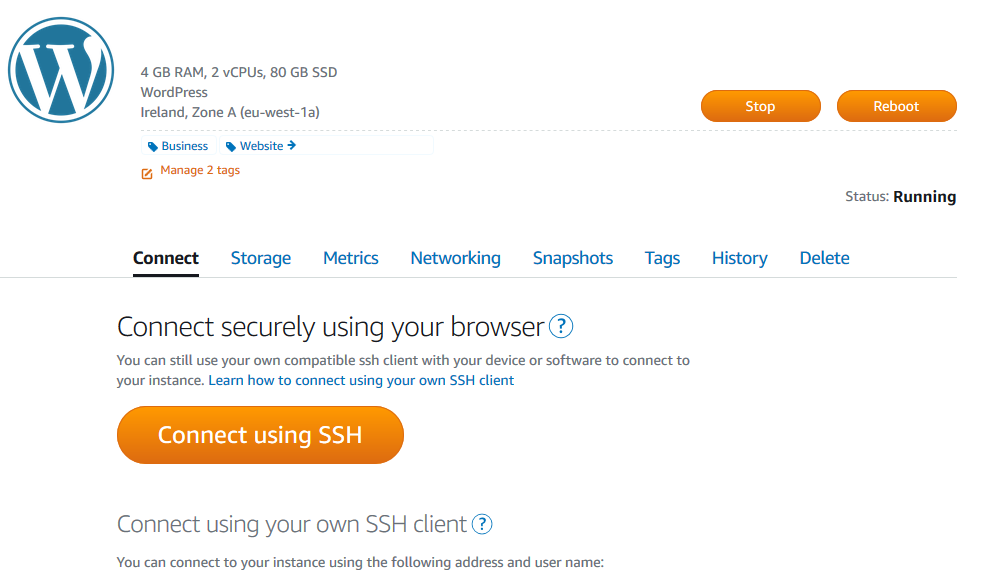
Go back to the Lightsail Home page and connect to your Lightsail instance using the browser-based SSH client. Click on the instance name, and then Connect using SSH.
In the terminal screen, copy and paste the following command. Then press Enter.
- sudo vim ./apps/wordpress/htdocs/wp-config.php
Use the arrow keys to move the cursor, and change http to https on following two lines so that the two lines look like this:
- define('WP_SITEURL', 'https://' . $_SERVER['HTTP_HOST'] . '/');
- define('WP_HOME', 'https://' . $_SERVER['HTTP_HOST'] . '/');
For emphasis, both lines should show https://, not http://.
Next, use the arrow keys to place the cursor below the two lines that you just modified in the previous step. Copy and paste the following line:
- if (strpos($_SERVER['HTTP_X_FORWARDED_PROTO'], 'https') !== false) $_SERVER['HTTPS']='on';
To apply the changes, restart your Lightsail server by copying and pasting the following command and pressing Enter.
- sudo /opt/bitnami/ctlscript.sh restart
Step 5: Login to your WordPress install
To find your default WordPress password follow this article.
Step 6: Update or Install the AWS for WordPress Plugin
After logging in go to Plugins > Installed Plugins > AWS for WordPress (or install it if required).
Step 7: Create an IAM Role or User for Plugin
- Now go back to IAM in the AWS dashboard
- In IAM, click Policies. Then choose to Create policy. Choose JSON and delete everything in the policy text box and then paste or enter the following JSON policy into the text box:
 {

"Version": "2012-10-17",

"Statement": [

{

"Effect": "Allow",

"Action": "acm:DeleteCertificate",

"Resource": "*",

"Condition": {

"StringEquals": {

"aws:RequestedRegion": "YOUR_REGION_HERE"

}

}

}

]

}
- Choose review policy and for the Name, enter 'AWSForWordPressDeleteCert'. Then click Create policy. This is one of the two policies we will add to the user. Back in the IAM navigation pane, choose Users. Then choose to Add user.
On the Set user details page, do the following:
- For User name, enter AWSForWordPressPluginPolicy.
- For Access type, choose Programmatic access.
- Choose Next: Permissions.
On the Set permissions page, do the following:
- Choose Attach existing policies directly.
- In the search box, enter WordPress, and then select the checkboxes next to AWSForWordPressPluginPolicy and AWSForWordPressDeleteCert. Make sure to select the checkboxes for both WordPress policies.
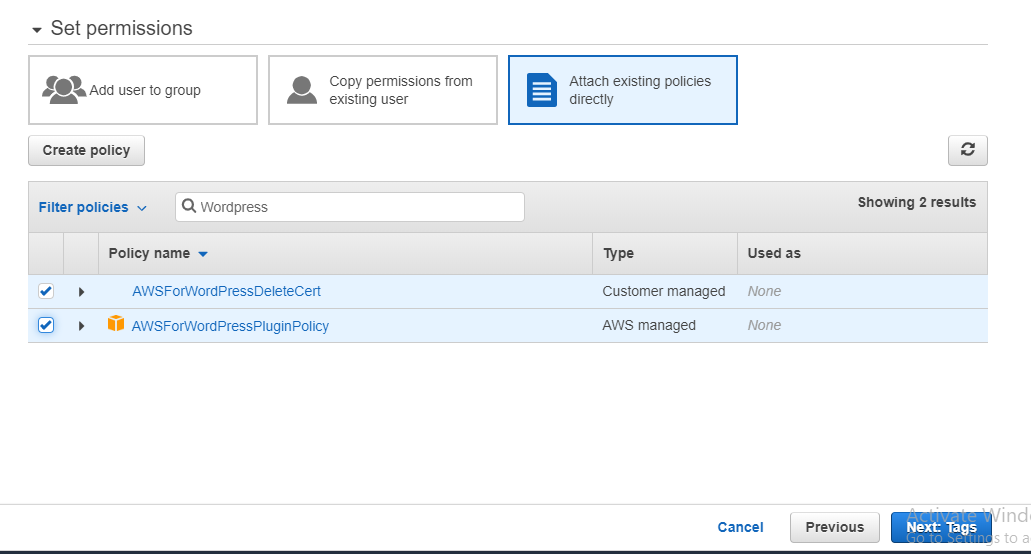
- Choose Next: Tags
- Choose Next: Review
- Choose Create user.
A screen will then prompt you to Download .csv to save the user’s credentials (access key ID and secret access key) to your computer.
- Go Back to WordPress admin
- Click on AWS in the left side panel menu
- Add AWS access key, secret key and region. Now Save Changes.
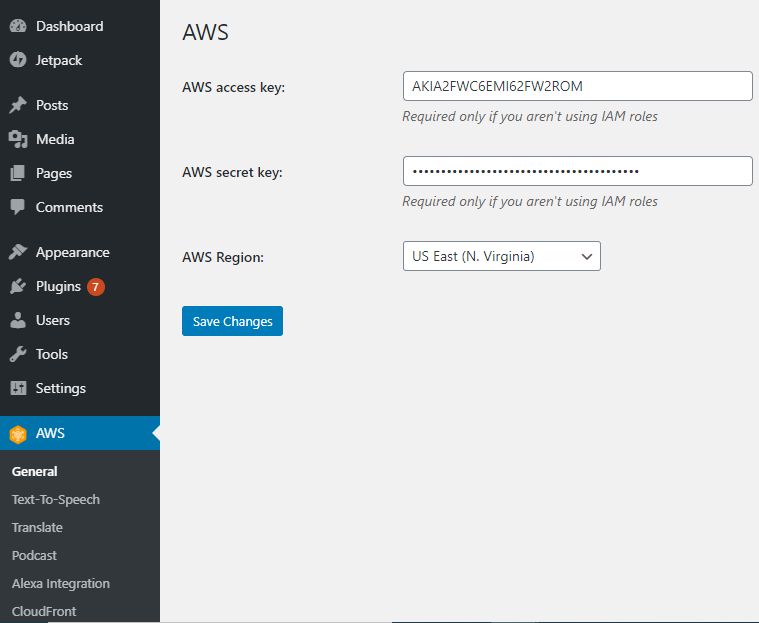
Step 8: Configure and Use CloudFront with the AWS for WordPress Plugin
- Click on CloudFront at bottom of the menu and add a domain name.
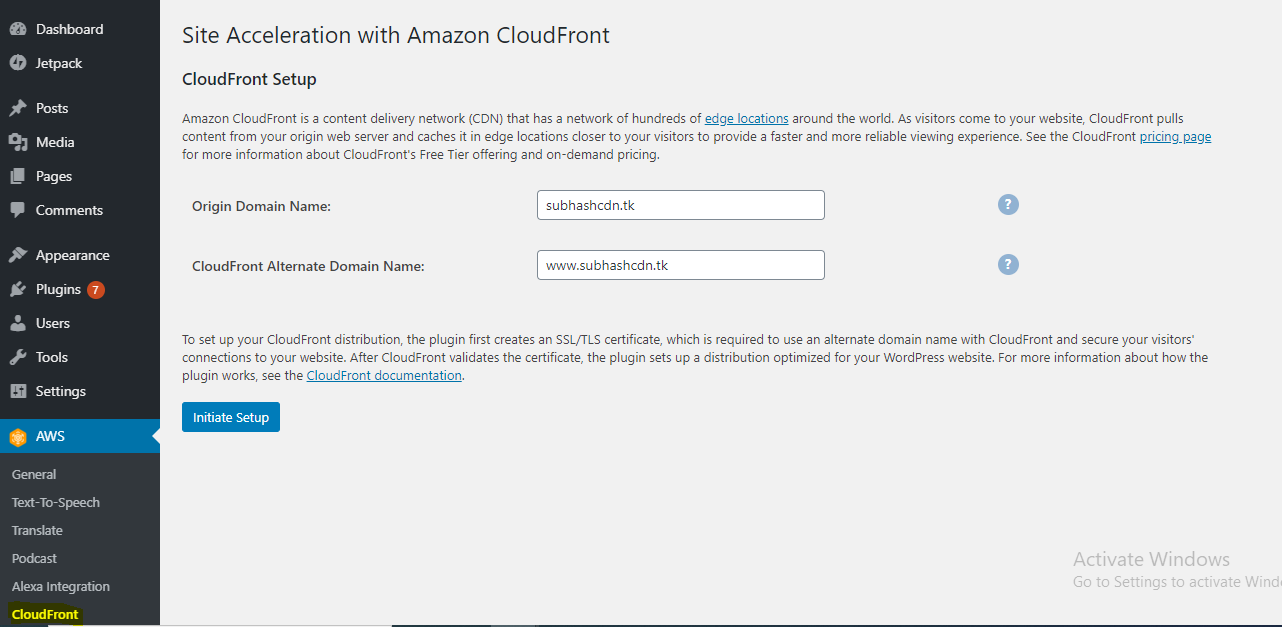
- After adding domain name Click on Initiate Setup
CloudFront uses AWS Certificate Manager to create a certificate for your alternate domain name, and you must validate the certificate within 72 hours of the request. Follow the same process as before when you validated your origin’s certificate. Enter the CNAME Name and Value into your domain registrar’s DNS records.
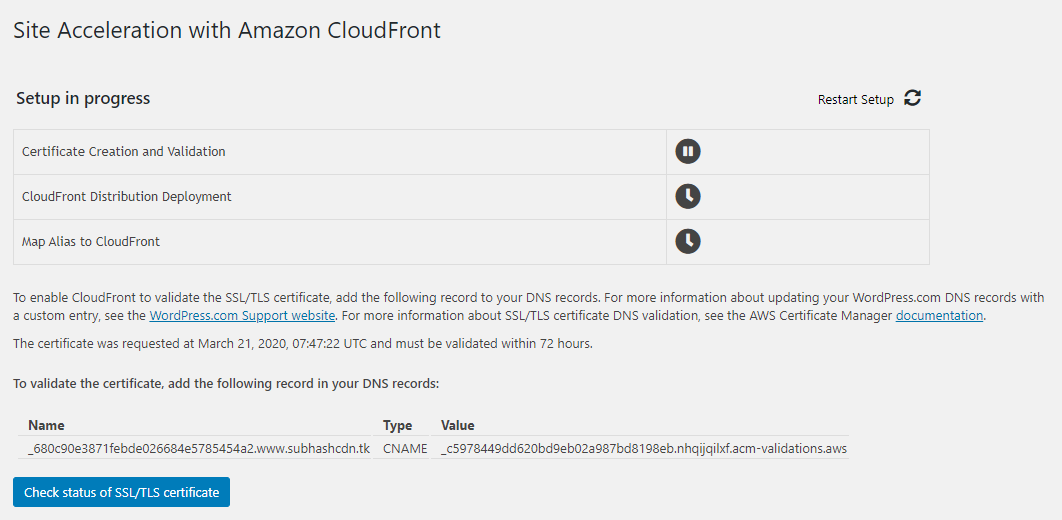
- After adding record click on Check status of SSL/TLS certificate
After the deployment is complete, you will create one final DNS record to point your alternative domain name such as www.example.com to your new CloudFront distribution. The plugin will display the distribution domain name created for your WordPress site. Once you have that value, go to your domain registrar just like in prior steps and add the CNAME Name and Value.
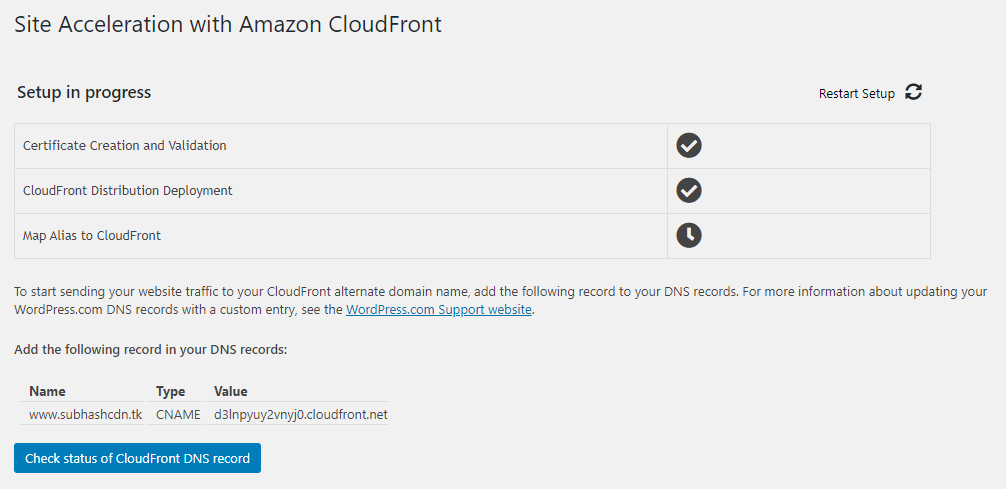
- After adding record click on Check status of SSL/TLS certificate.
Once completed, return to the plugin and perform the final check to make sure the final link is established by clicking Check the status of the CloudFront DNS record. You are now on the final stage of the plugin configuration for CloudFront’s site acceleration.
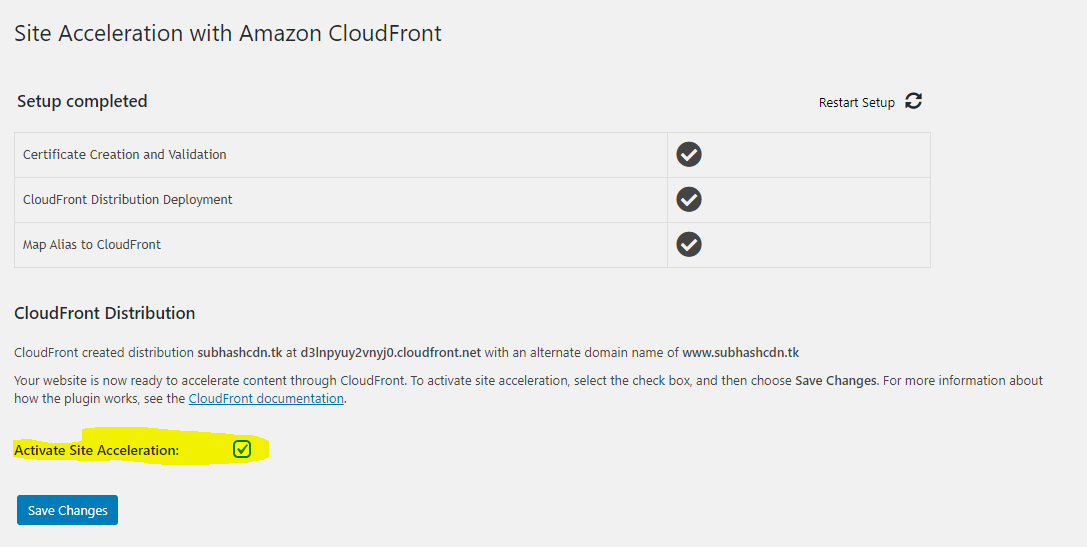
- Choose Activate Site Acceleration, and then choose Save Changes.
That's it you're done! Check out my certification and how I can help you with all AWS needs.



Leave a Reply